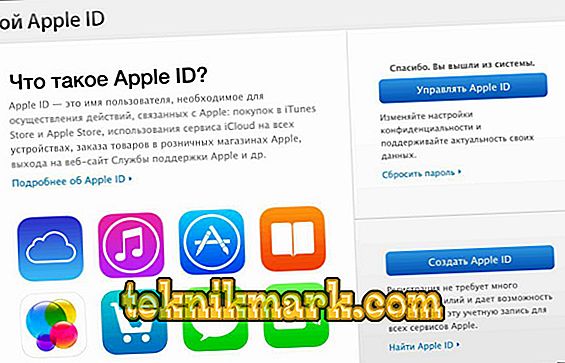
All users purchasing Apple devices get their own Apple ID, which is used to access various services, including iCloud, the App Store and iTunes. In newer versions of OS X, this ID is also used to access a Mac user account. Since each user can have only one Apple ID, in some situations you may need to unlink it from your MacBook. For example, if you purchase a used laptop and want to change the user on it or transfer the device to another member of your family.

Algorithm decoupling MacBook from Apple ID.
One way or another, unlocking Apple's MacBook ID is quite possible and you will learn how to do this with this guide.
Untie Apple's MacBook ID
To completely decouple the ID from a specific laptop before selling or transferring to another user, you must perform the following steps.
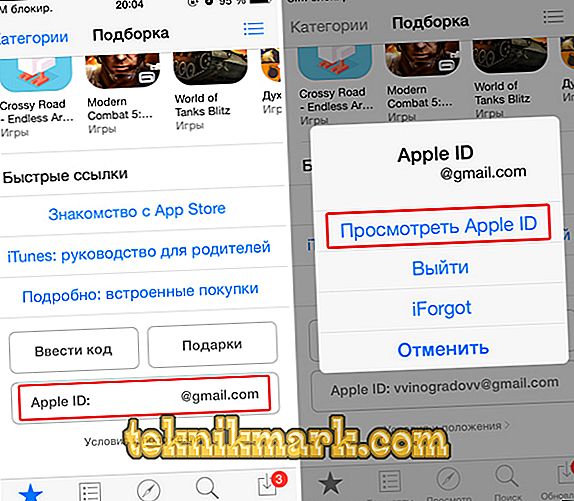
- Log in to iTunes on your Mac.
- Select Store - View Account.

- Enter your password.
- Open Manage Devices in iTunes.

- Click Remove next to the desired device that is associated with your account (account).
- Click Done.
- Select Store - Deauthorize This Computer (“Remove authorization on this computer”).


That's it, your Mac is untied from your current ID. How to change the ID instead of simply removing it from the laptop, read below.
Change Apple ID to OS X
In order to untie an existing Apple ID on MacBook and bind a new one, you need to log in to the account you want to remove. The procedure involves logging out of the current account and entering a new one. This is easy, but you need to know exactly what settings to choose to perform your plan.
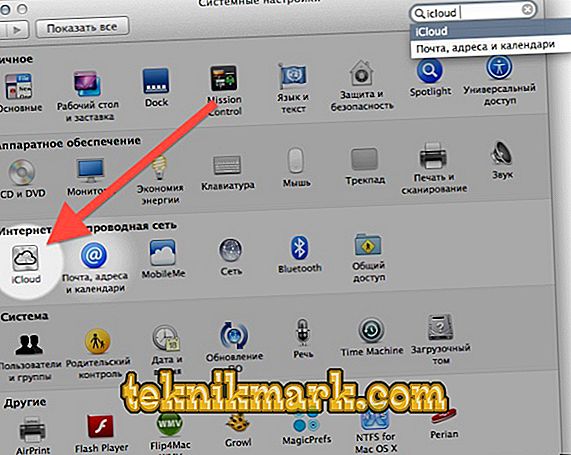
- Open the main menu and go to System Preferences - “System Settings”.
- Select the iCloud tab.
- Click the Sign Out or Exit button to leave the current ID. You will receive a message that this action may affect documents and data iCloud Drive. If this is critical for you, refuse to continue and make backup copies of the necessary files.
- After exiting the ID, the iCloud settings panel will change to the usual login screen.
- Now log in using another ID that you want to use on a permanent basis.


Account sharing
There is another way to use different Apple IDs on the same laptop. The fact is that Macs support the ability to use multiple user accounts in the same OS X operating system. Thus, different IDs can be used in different accounts. For example, you can go under the ID that is tied to your iCloud and iOS devices, and another member of your family - under the ID that is tied to his iPhone.

This is very convenient not only from the point of view of privacy, but also because of the possibility of separate use of messages, contact lists and much more. You can also easily save and restore backup copies of data on your Apple devices. The ability to split accounts is the main difference between the Apple ID functionality on Macs when using OS X and mobile devices on iOS, since in the second case only one ID can be used on each device and this applies to both iPhone and iPad. Do not miss the opportunity to take advantage of this convenient functionality.
Can I remove the Apple ID completely?
Completely remove your Apple ID is not possible. But you can remove all your personal information from the company's servers. To do this, you first need to untie the ID from all of their devices. How this is done on MacBook, you have already read in the first section of this guide. On mobile devices (iPad, iPhone, iPod touch), this process is as follows.
- Select Settings.
- Sign in to iCloud.
- Select your account at the top.
- Enter password.
- Open Devices.
- Click on each device and select Remove From Account.
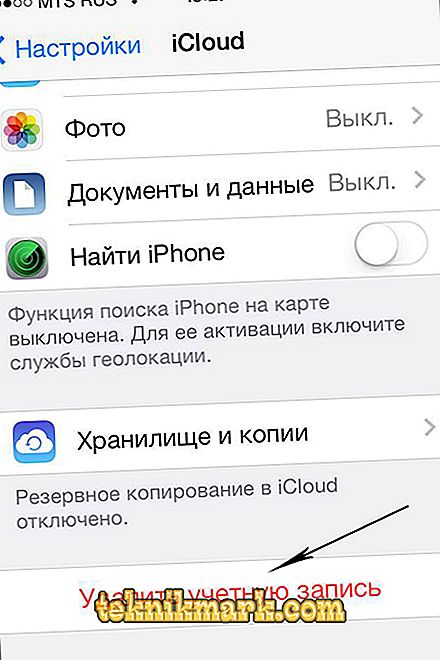
- If you have set up the Family option, log in and delete each member of your family from the list.
- Click on Sign out - “Exit” and Delete from my iPhone - “Delete from my iPhone”.

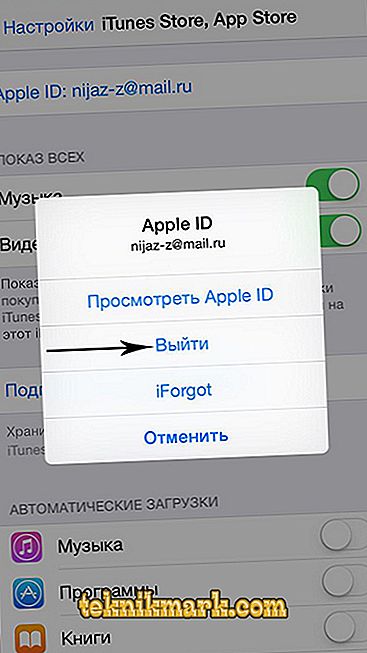
- Now select the settings again and open the iTunes & App Store tab.
- Choose your ID and then Sign out.
- Through the settings, select Music - "Music".
- Scroll to the bottom and click Apple ID under the Home Sharing tab. And also click Sign out.
- Return to the settings and select Mail, Contacts, Calendars (Mail, Contacts, Calendar).
- Log in to your iCloud account in the Accounts list and click on the familiar Sign out.

- Open the Settings tab Messages (“Messages”) - Send & Receive (“Sending and receiving”). And also select ID and Sign out.
- Now through the settings, open the Game Center. Similarly select ID and Sign out.
- And the last service to remove your data from is FaceTime. Once logged in, just click on your ID and leave the service using Sign out.


Now that the Apple ID has been removed from all of your devices, do the following.
- Go to apple.com
- Enter your ID and password.
- You need the Manage option.
- Click on Unlock Account if this option is offered.
- Open Edit beside the account name.
- Change the name to an arbitrary name and click Save.
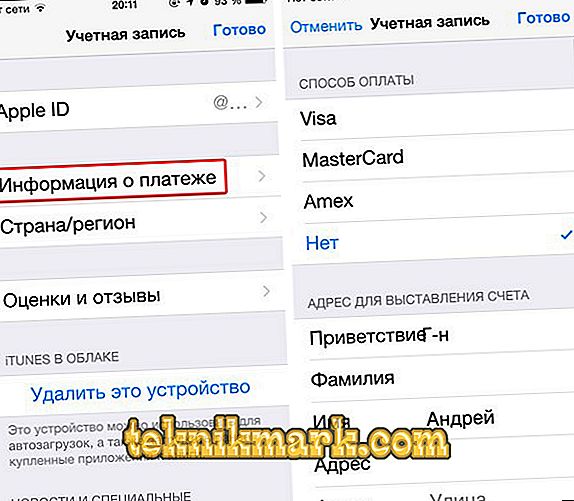
- Select the Edit option next to Payment.
- Delete your address and bank card details. Click Save.
- Open the field with a phone number, enter a new arbitrary number and click "Save" again.
- Now it is necessary to click on Sign out ("To quit") in the top right corner of a window.


Now the ID that you used does not contain any personal information and you, as it were, have no relation to it. Please note that all purchases made through this ID will also be unavailable. This is the only way to get rid of your unnecessary Apple ID.