In Windows 10, developers have provided a very convenient built-in utility for printing: you can use any printer without installing drivers and additional software. Unfortunately, in earlier versions such a preference is absent: it is necessary to make the slightest mistake in the settings, and immediately pops up a window with the notification: “the local printing subsystem is not running in the Windows 7 operating system”. Sometimes this trouble can happen with Windows 10 due to malfunctions in the functioning of the computer. Below we analyze the cause of the problem and how to fix it.

How to solve the error How to solve the error "Local printing subsystem is not running in Windows."
Causes of the problem
Sources of error:
- disabling the service responsible for the process (accidental or intentional);
- damage to system files;
- malware;
- incorrect installation of printer drivers;
- clogged registry spool.

Solutions
The most common cause of print failure under the code 000006 (error 0x000006ba) is disabling the responsible service, so first check this probability, and then proceed to the other.
Check the "Print Manager"
- Follow the path: "Start" - "Control Panel" - "System and Security."

- Change the type of viewing to "Large icons" and go to the item "Administration" - "Services."
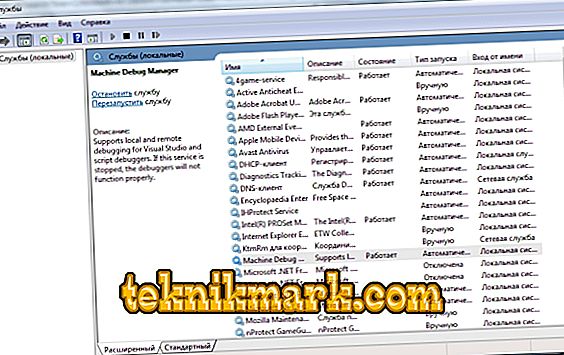
- Now we have a long list of various components, among which we need to find the “Print Manager”.
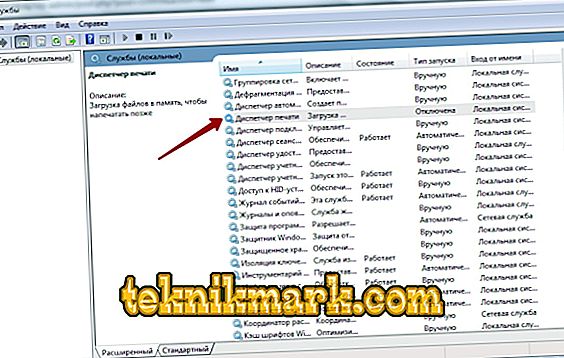
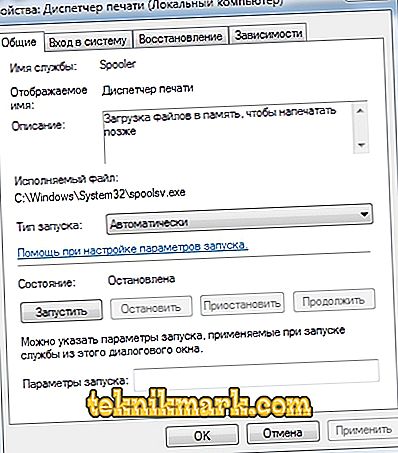
- Opposite him should be written "Works." If not, double-click the service name and specify an automatic launch type.
- Close the window and click “Run” in the left column.
- Wait for the component to work, and go back to print.


Usually for Windows 10 these measures are enough to normalize the process of removing data on paper.
Scan for viruses
Often viruses are a hindrance to printing. For effective cleaning, log in to "Safe Mode":
- Restart your computer and before the screen saver appear, have time to press F8 or other keys: F1, Del, F2, F10, Tab, Reset (their choice does not depend on your Windows: 8, 10, 7 or XP, but only on the type of BIOS ) and wait for the BIOS to boot.
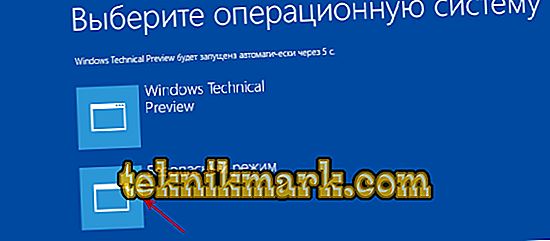
- Select "Safe Mode" - you will get access to the main management functions.
- Run antivirus (note that some of them work only in standard mode) and check all files.

You can also download antivirus utility and run a scan from a flash drive.
Cleaning the print queue
Normal way
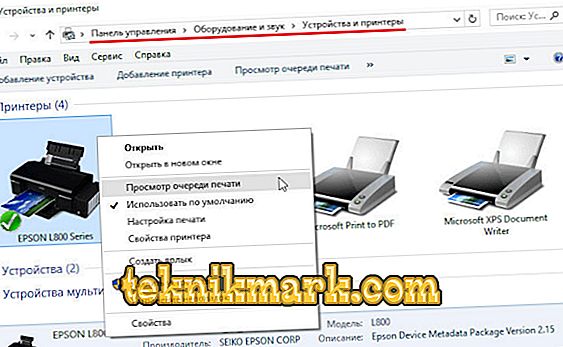
- Open the "Control Panel" (in Windows 10 it is better to act not through the "Settings", but through the "Classic Application") and the tab "Devices and Printers".
- Select the connected printer and click on its icon with the auxiliary mouse button.
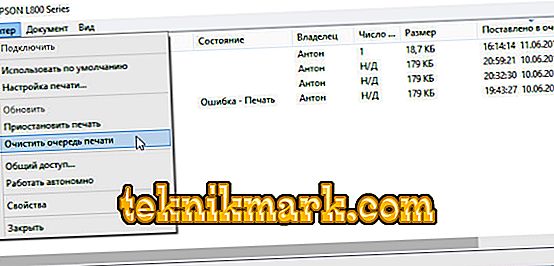
- Here you need to click "View print queue."
- Click the last section "Printer" and select "Clear queue".


Forced cleaning
If, in response to an attempt to clear the print registry, a message appears stating that it is impossible to perform the operation, you will have to resort to another method.
- Find the printer in the list of devices again, click on the name with the main mouse button and at the top find the tab “Print server properties” - “Advanced settings” - “Print queue folder”.
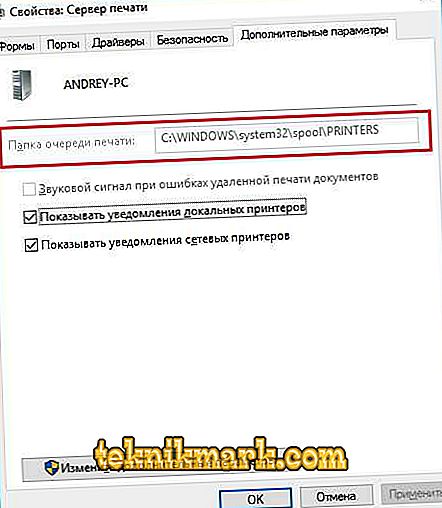
- The line must contain the path: C \ windows \ system32 \ spool \ Printers. If the field is empty, click on “Change advanced settings” and enter the value.
- Now close the “Control Panel”, press Win + R.
- In the line "Run" we write: cmd and click "Enter".
- After opening the command line (window with black field), specify to execute: net stop spooler.
- Then take turns:
- del% systemroot% \ system32 \ spool \ printers \ *. shd / F / S / Q
- del% systemroot% \ system32 \ spool \ printers \ *. spl / F / S / Q
- net start spooler.


Restart your computer and try printing a document to make sure everything is working fine.
System Restore
It is also worth checking the status of system files. For this:
- Call the "Command Line" (the above is how it is done).
- Set the command: C / Windows / System32 / sfc / scannow.
Now the OS will diagnose and fix the problem on its own.
Reinstall Printer
- Disconnect the printer from the computer and from the network.
- Enter the “Control Panel” - “Devices and Printers”.
- Highlight the printer and click “Remove Device” at the top.
- If you have Windows 10, then restart the system and reconnect the printer to the computer.
//www.youtube.com/watch?v=UnDWbdj2OL
For earlier Windows versions, you need to download drivers from the site of the company whose name your equipment carries, and install them:
- Extract files from the archive and save them somewhere at hand to remember the exact path.
- Open “This Computer” - “System Properties” - “Device Manager”.
- Find your printer, right-click on its name and select “Update driver” - “Search in computer” - unpacked files.
Before printing, it is better to restart the OS.